Getting started with WeMos D1 mini and WeMos D1 mini PRO
Add Wi-Fi connectivity to your projects with a board that costs $5 or less. Here’s how to get started with the WeMos D1 mini, and the newer WeMos D1 mini PRO version.
WeMos D1 mini and WeMos D1 mini PRO are two small boards that use the low-cost Wi-Fi enabled ESP8266 chip. The two boards, along with a variety of shields (such as a button shield, relay shield, or battery shield) are produced by WEMOS, a Chinese IoT products manufacturing company.
The WeMos D1 mini is priced at $3.50, and the PRO at $5 (the official WEMOS store is on AliExpress). The main differences are that the PRO has 16MB flash (compared to 4MB on the mini), an external antenna connection, and a lighter profile.
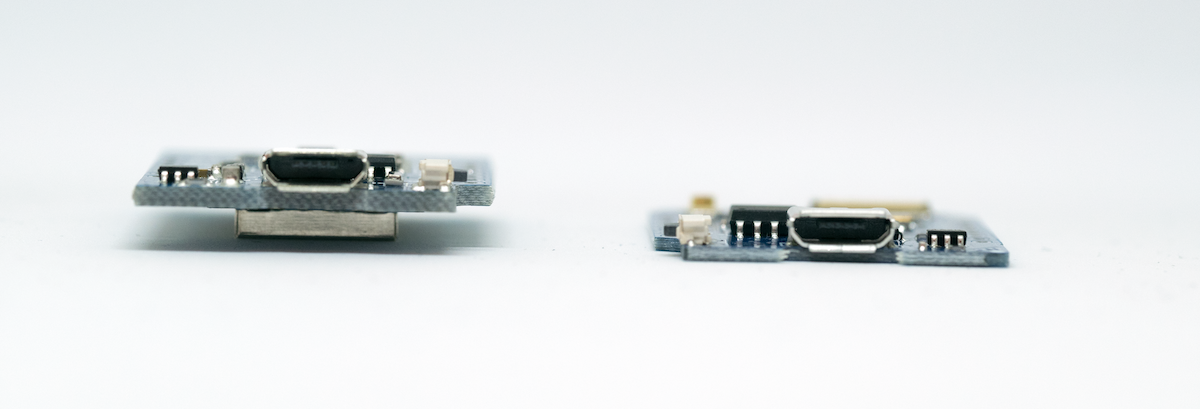
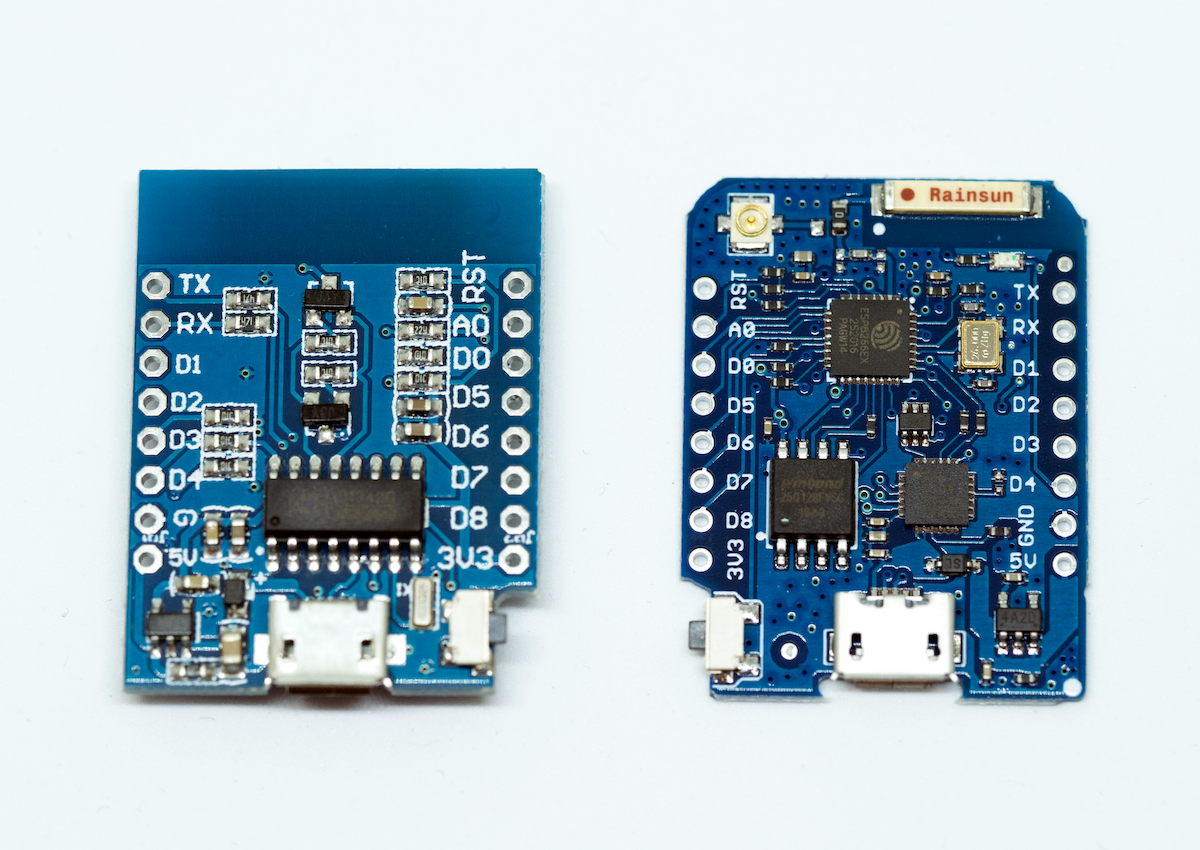
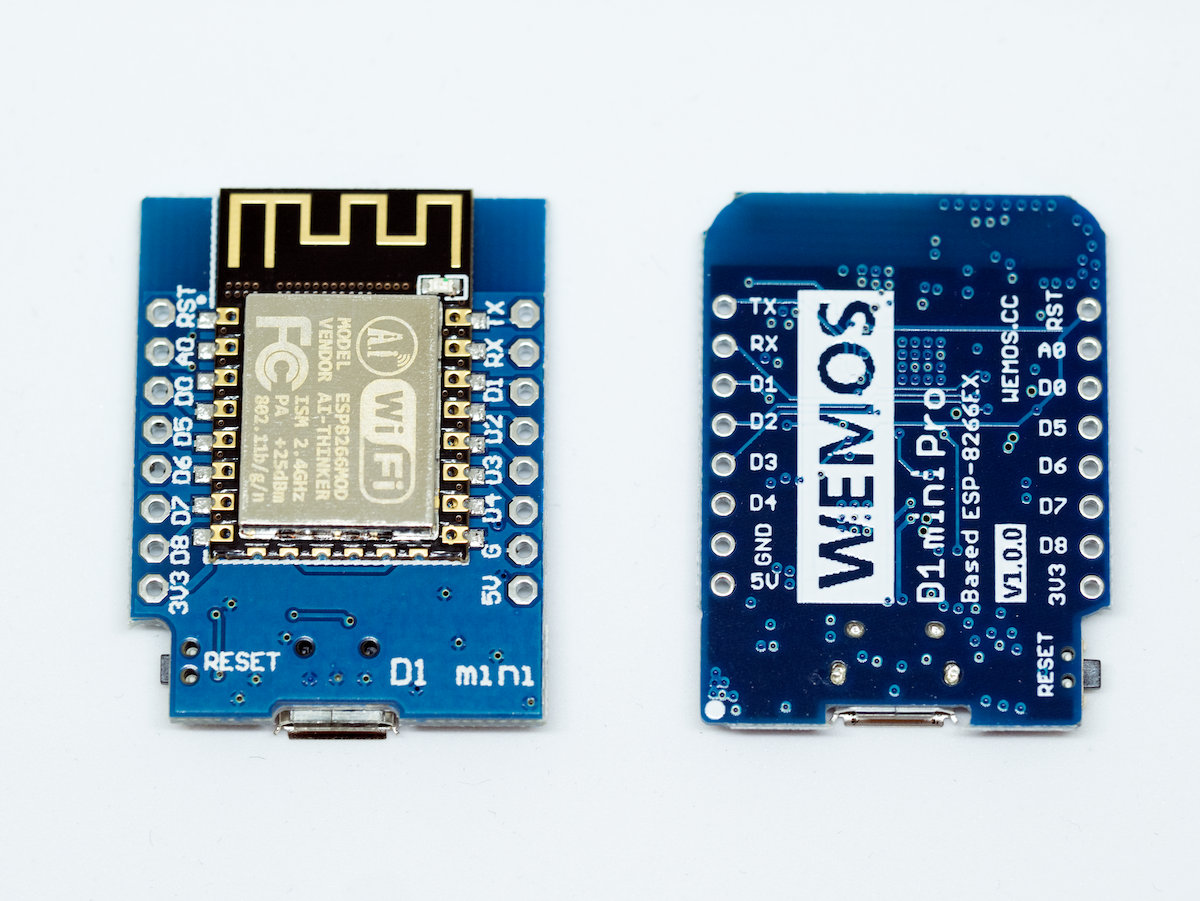
In addition, there is one more difference that is important to note when working with any of the two boards: they will require the installation of an different driver.
WeMos D1 mini
In order to be able to program the WeMos D1 mini you will need to install CH340 usb to serial driver: https://wiki.wemos.cc/downloads (or https://tzapu.com/ch340-ch341-serial-adapters-macos-sierra/ if on macOS Sierra). Note that this will require an OS restart after installation before you can use the driver.
WeMos D1 mini PRO
The PRO needs another driver, CP210: https://www.silabs.com/products/development-tools/software/usb-to-uart-bridge-vcp-drivers. This will also require an OS restart before it can be used.
Using the Arduino IDE
If you want to use the Arduino IDE to program the WeMos, you need to ensure that you have the board definition:
-
Add an Additional Boards Manager URL in Arduino IDE > Preferences:
http://arduino.esp8266.com/stable/package_esp8266com_index.json -
Then click OK and go to Tools > Board > Boards Manager > search for esp8266 > Install
-
Close the application and open again
-
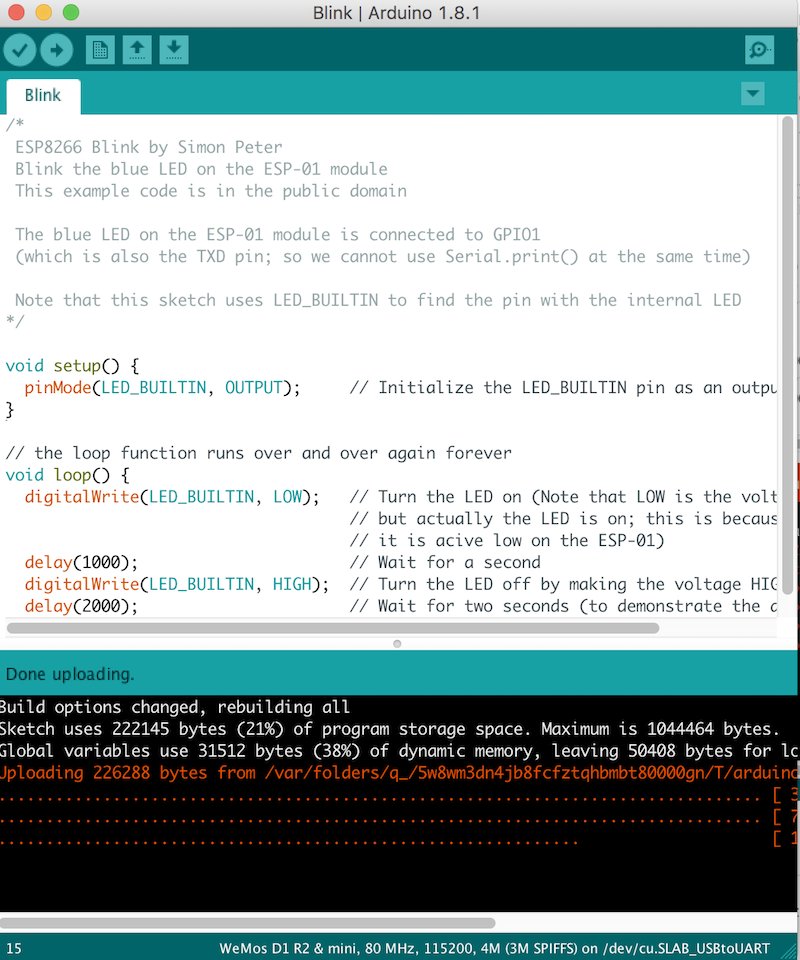
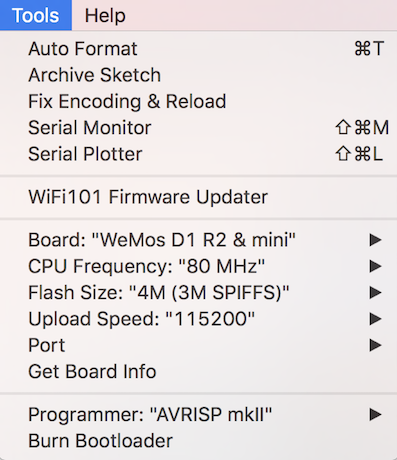
Select WeMos D1 R2 & mini from the boards and set upload speed to 115200. (And use
Serial.begin(115200)in your code.)
Troubleshooting in the Arduino IDE
When we first started working with the WeMos D1 Mini Pro we experienced errors when trying to upload the Arduino sketch to the board, even after installing the driver.
The most basic Arduino sketch would result in: error: espcomm_upload_mem failed
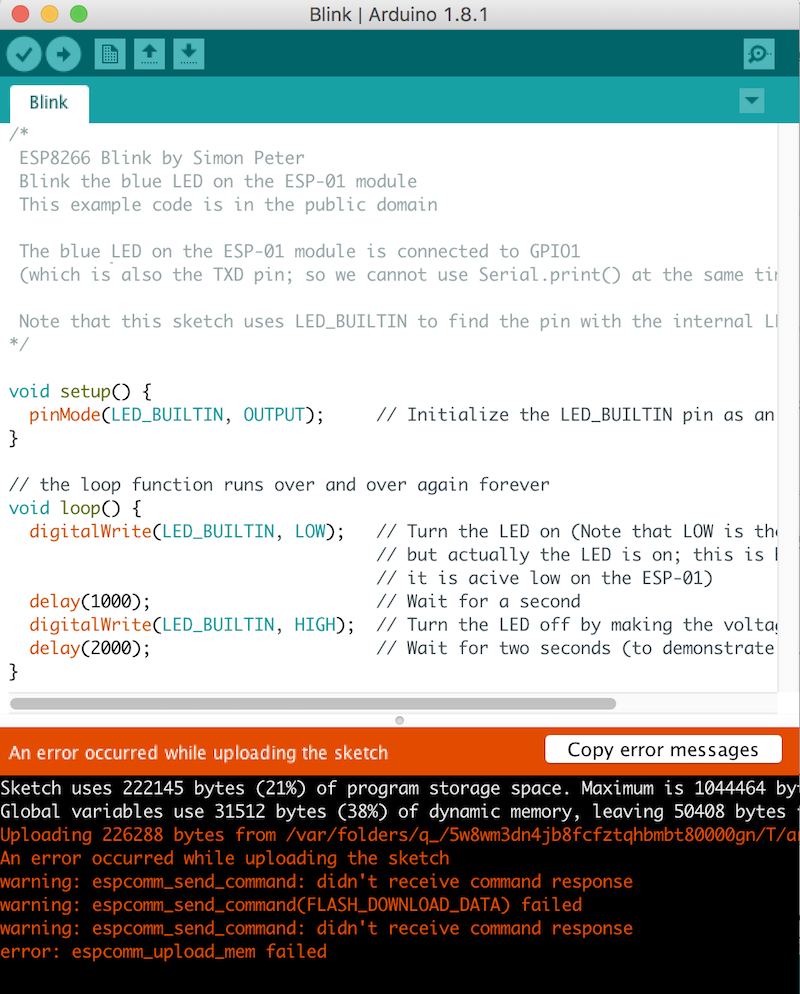
After checking that the USB cable is okay, reseting the device, restarting the computer, and checking again the board definition, we ended up uninstalling the CP210 driver (see the uninstall script in the driver installer package), and then reinstalling again and restarting the computer. Then after setting the upload speed and serial print to 115200, the upload worked!
